


Skills Showcased
While working for Studio Cortez, I designed a number of tool racks to help keep the shop organized. They were made exclusively from waterjetted sheet metal for simplicity and ease of manufacture and were designed to work with the Wall Control pegboard system. Under the guidance and feedback of my supervisor, most of these parts went through quite a few iterations, but eventually reached a level of functionality and stiffness to be implemented at our R&D shop, as well as the manufacturing location.
Workflow
Most of these designs started out as a napkin sketch from my supervisor. After he pointed out the critical dimensions and any design considerations, I would sit down and flesh out the rest of the design with a pair of calipers and the set of tools the rack was meant to hold. I then drew the part up in SolidWorks and sent it to the waterjet. The waterjet at the shop was a Flow unit, so I used Flow's proprietary built-in pathing software to prepare and execute the cut. Then the only thing left was to fold the piece and test it out. Any changes were noted and applied to the next version.
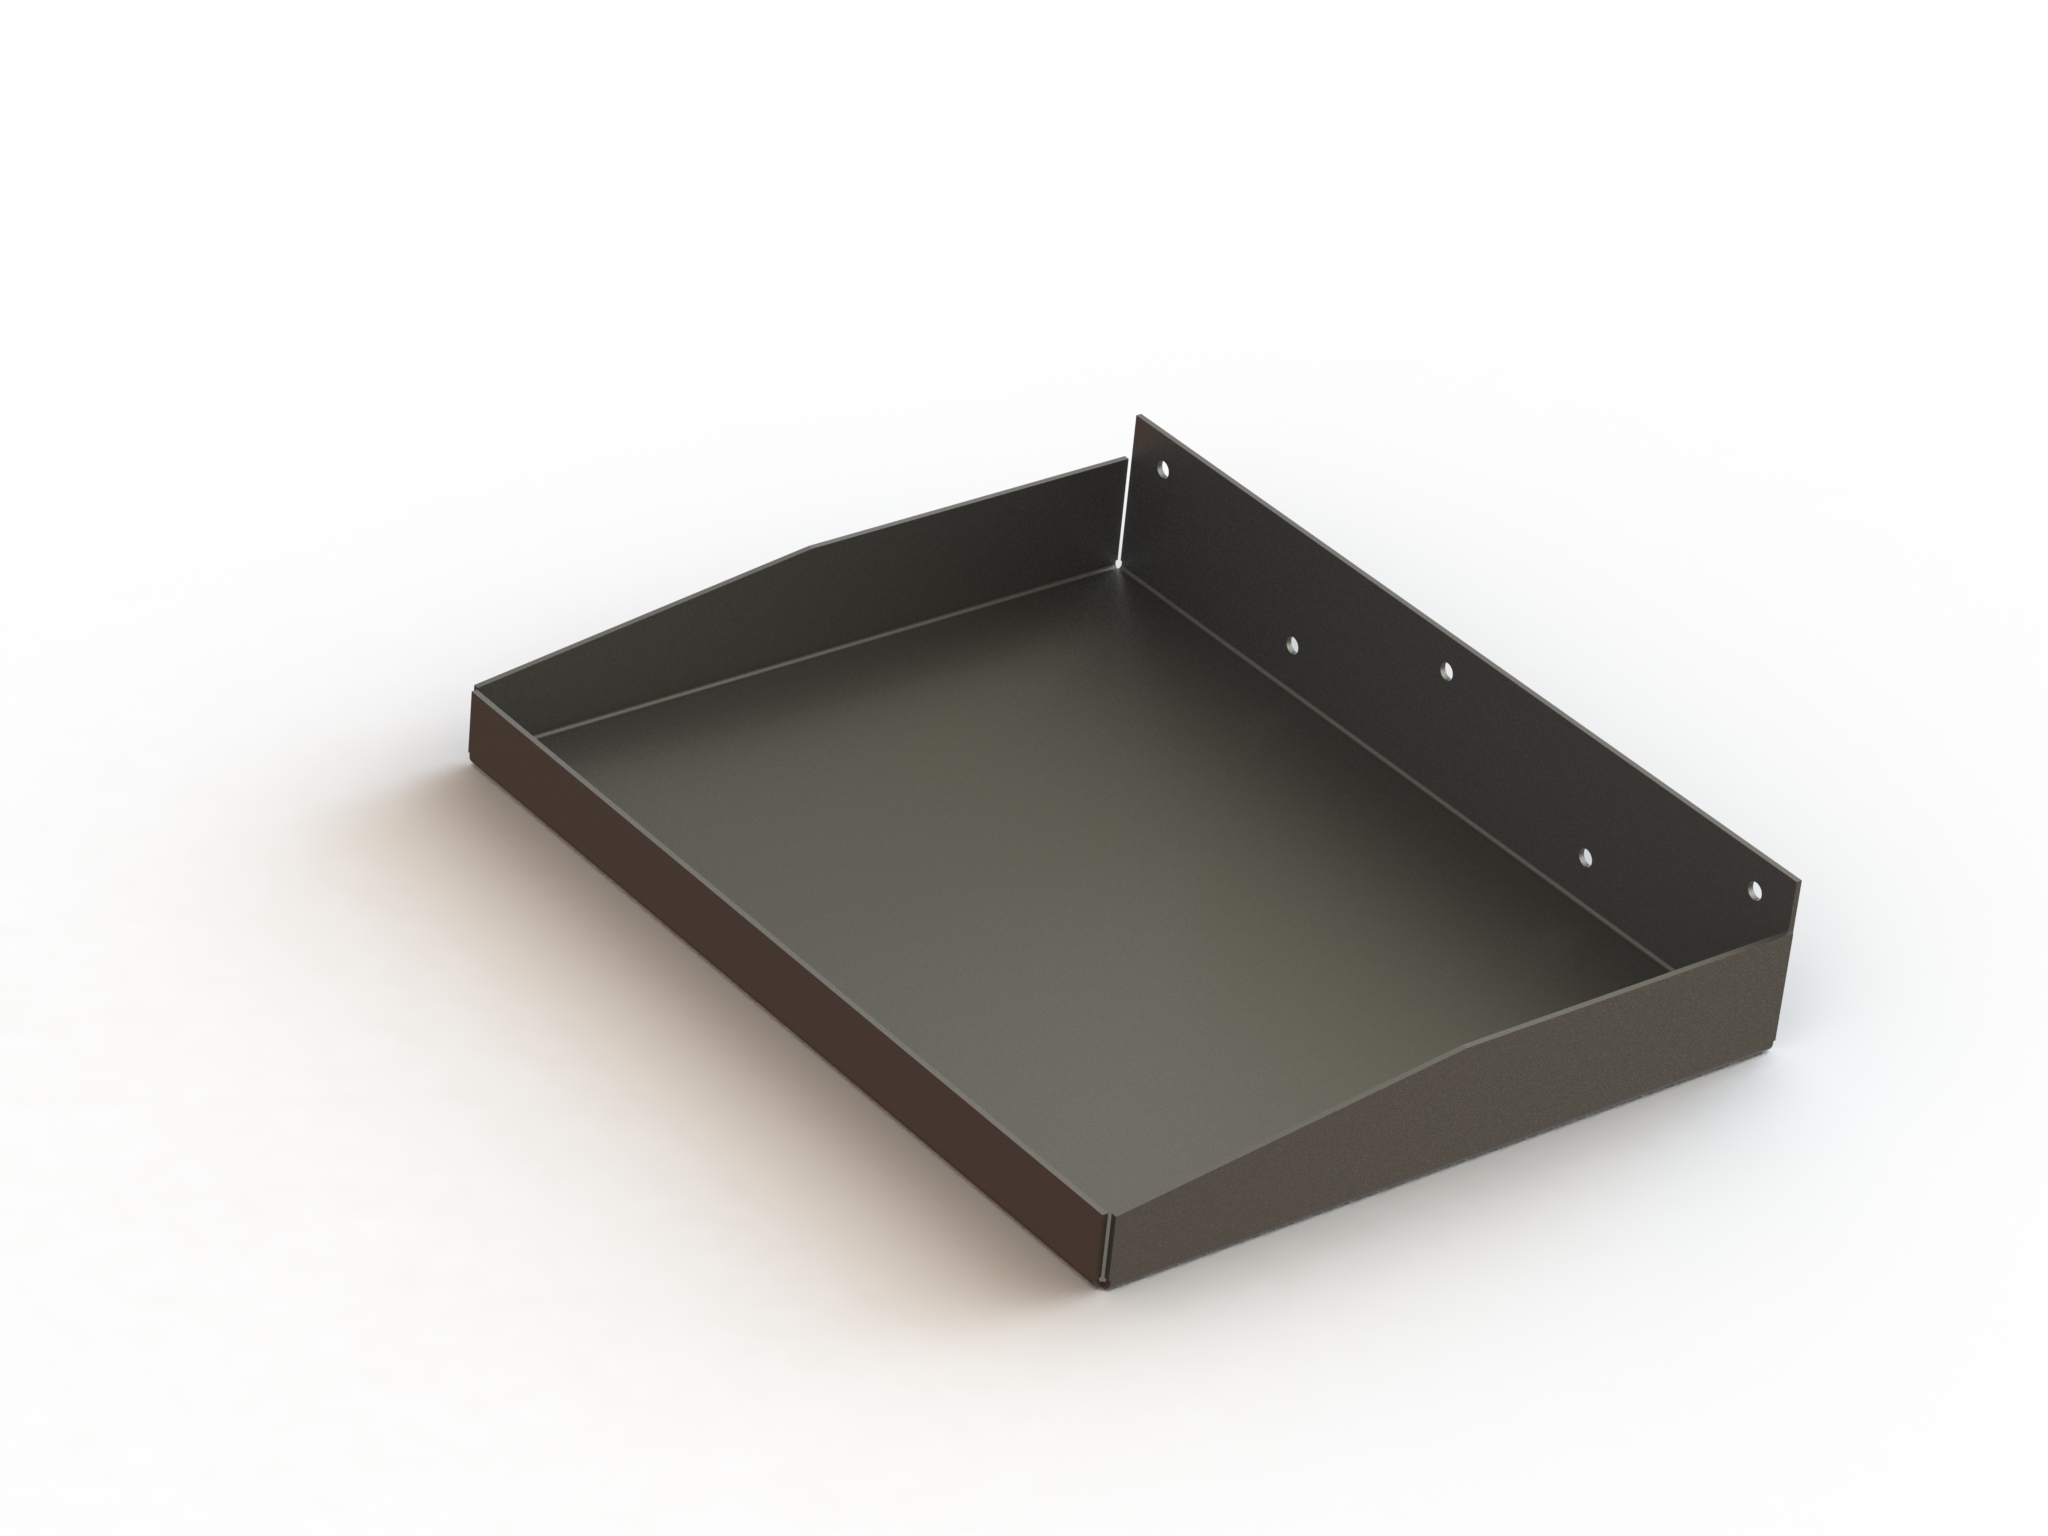
Medical Supplies Tray
Ok, it's not technically a 'tool rack', but it's close enough! The intent of this tray was to give us a place to put items while rummaging around in the first aid cabinet. It would also prevent any supplies that escaped the cabinet from falling to the ground.
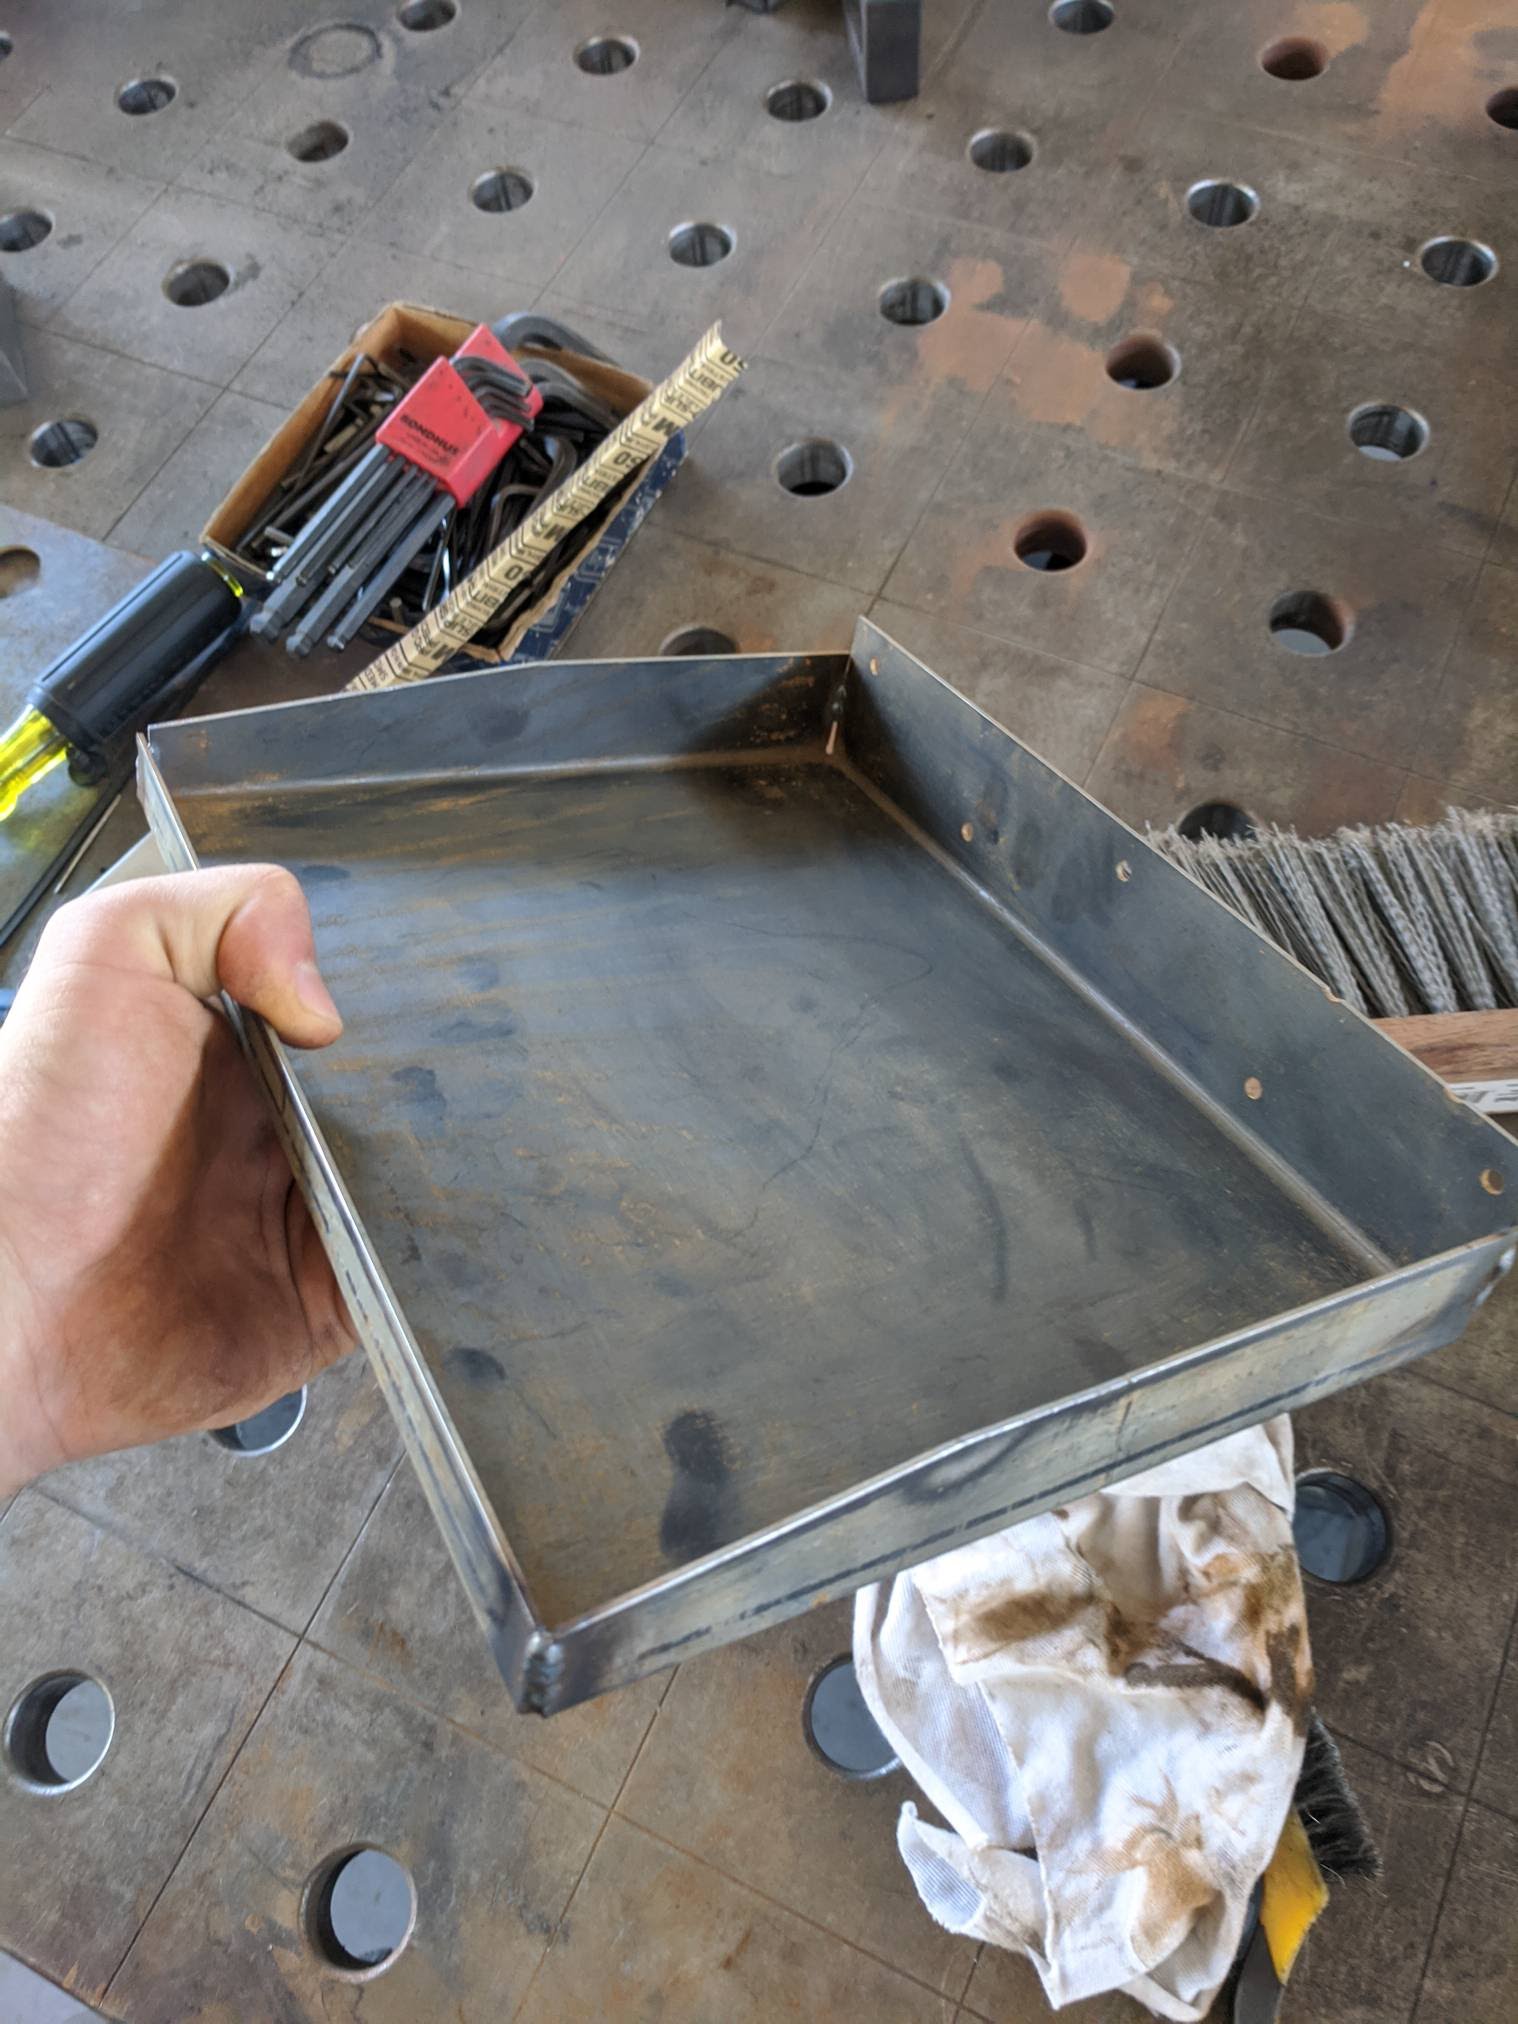
This was the first part I remember using SolidWorks' 'Convert to Sheet Metal' feature, which made this tray a very quick project. I also made a configuration with different dimensions which snugly fit a few bottles of hydrogen peroxide.
Wrench and Socket Rack
This rack was designed to hold a full set of regular sized on the front hooks, tall sockets on the top, socket wrenches and extensions on the sides, and box wrenches on the bottom. It's a fairly dense packing of tools, yet easy to access. I'm pretty happy with how this turned out, and if I ever have end up storing my tools on a pegboard like this, I would definitely consider recreating it.
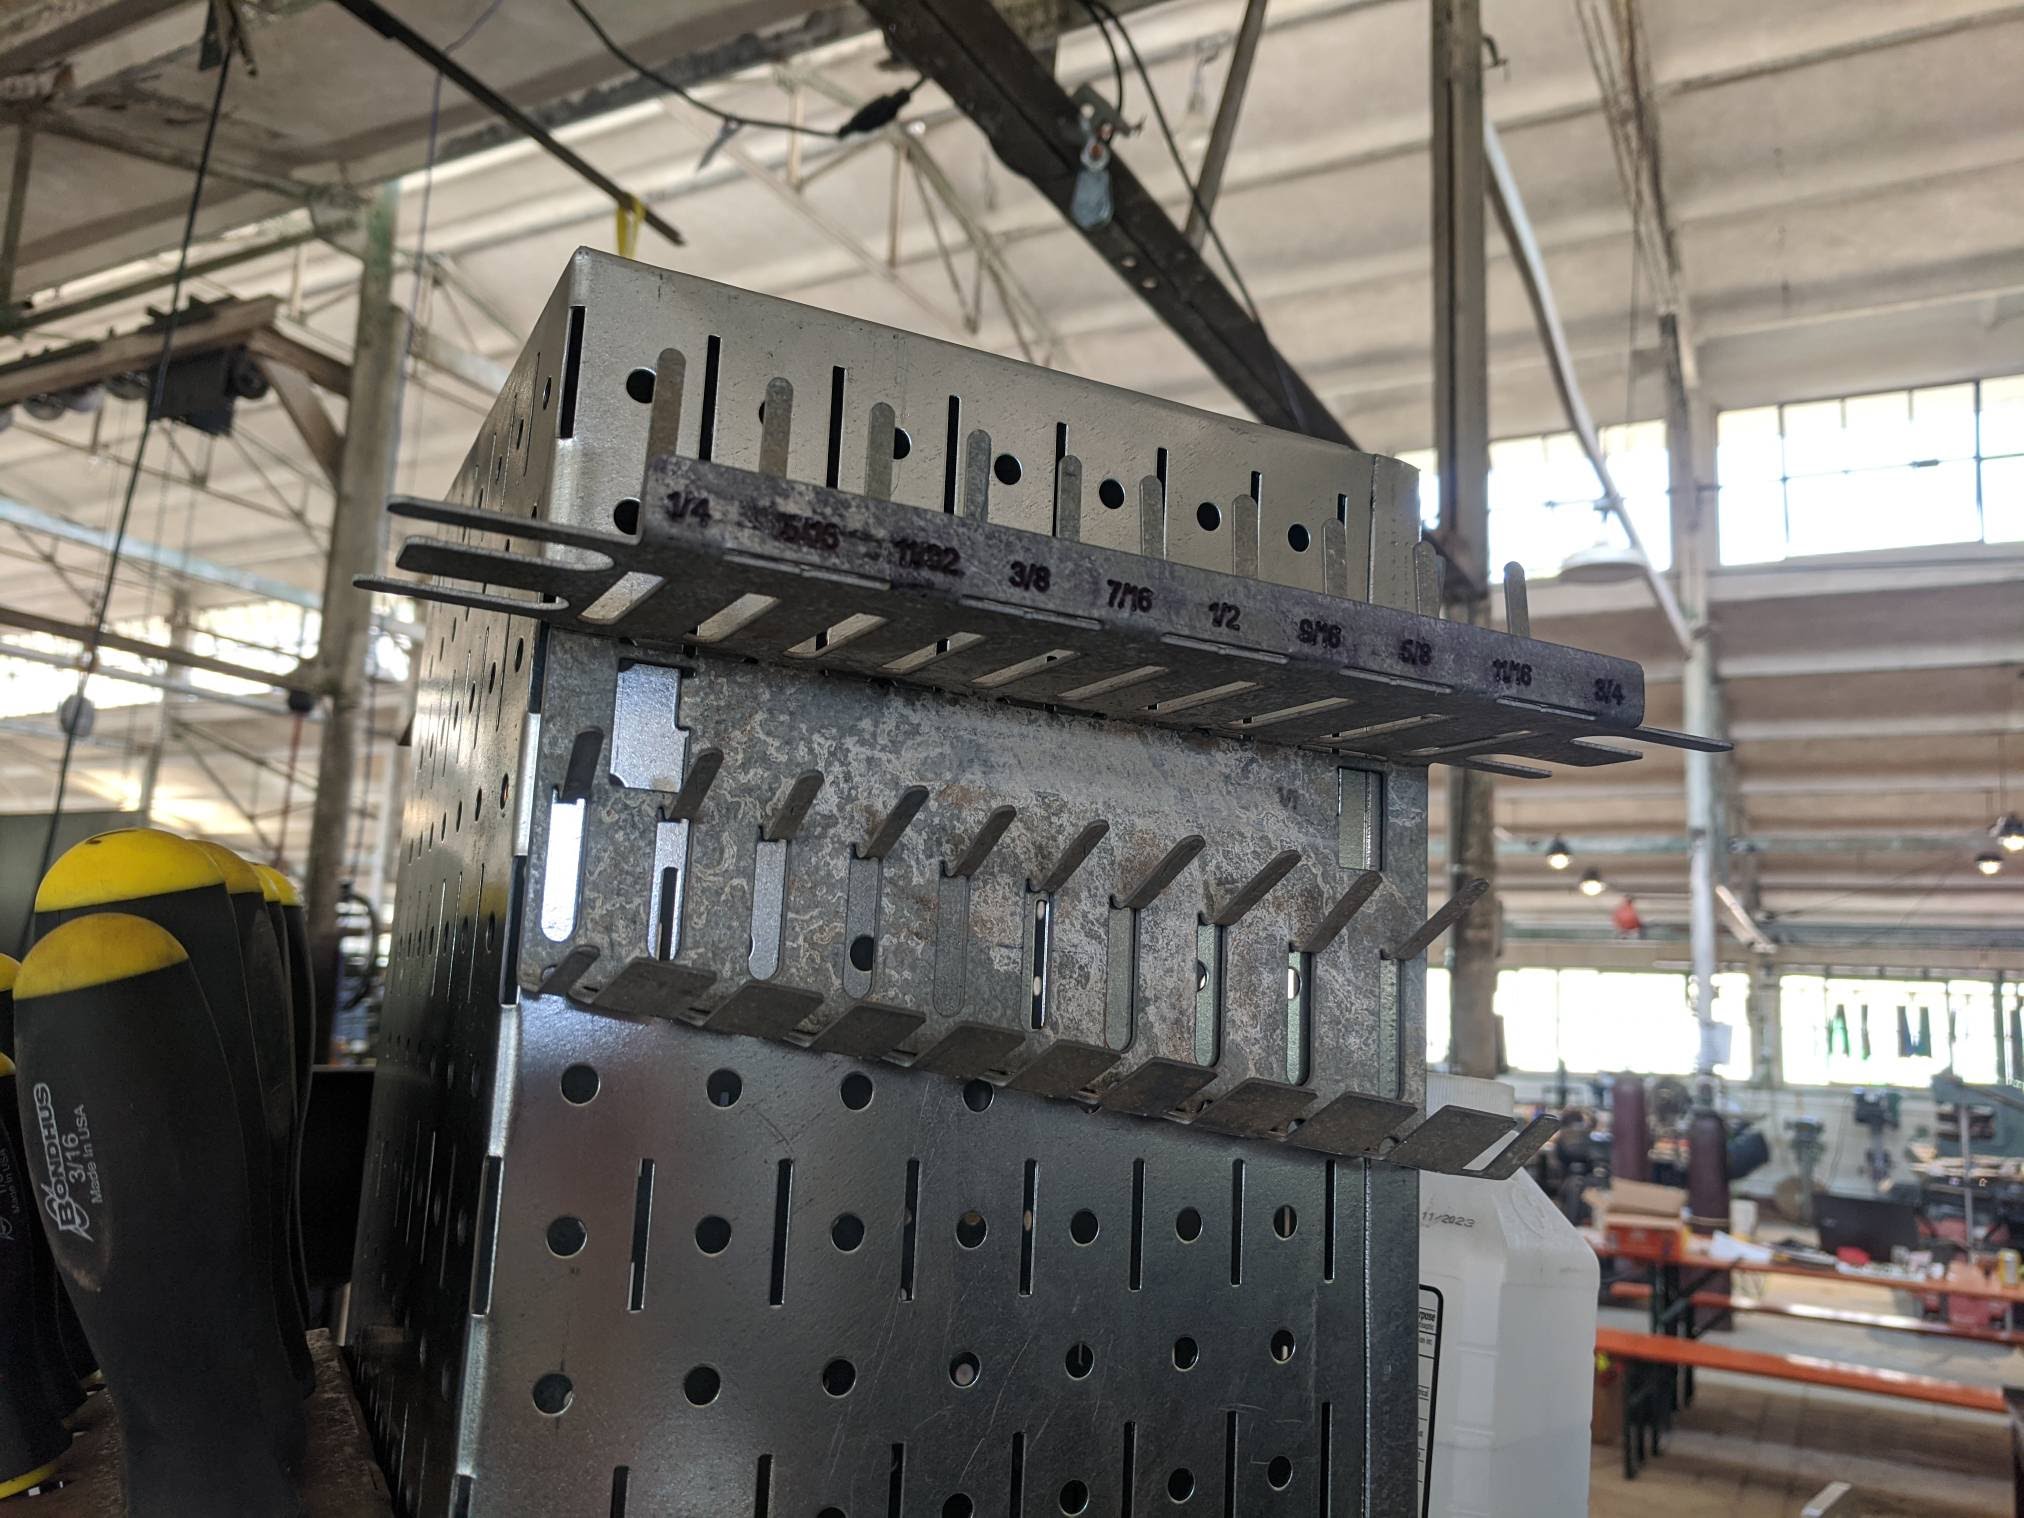
I think this was the first part I tried etching (or 'scribing') with the waterjet - a new process for the shop. The etched size labels by themselves were not too easy to read, but they could be easily filled with a paint pen, and the texture helped the paint remain. I folded metric and imperial versions of this part as mirror images for organization and symmetry.
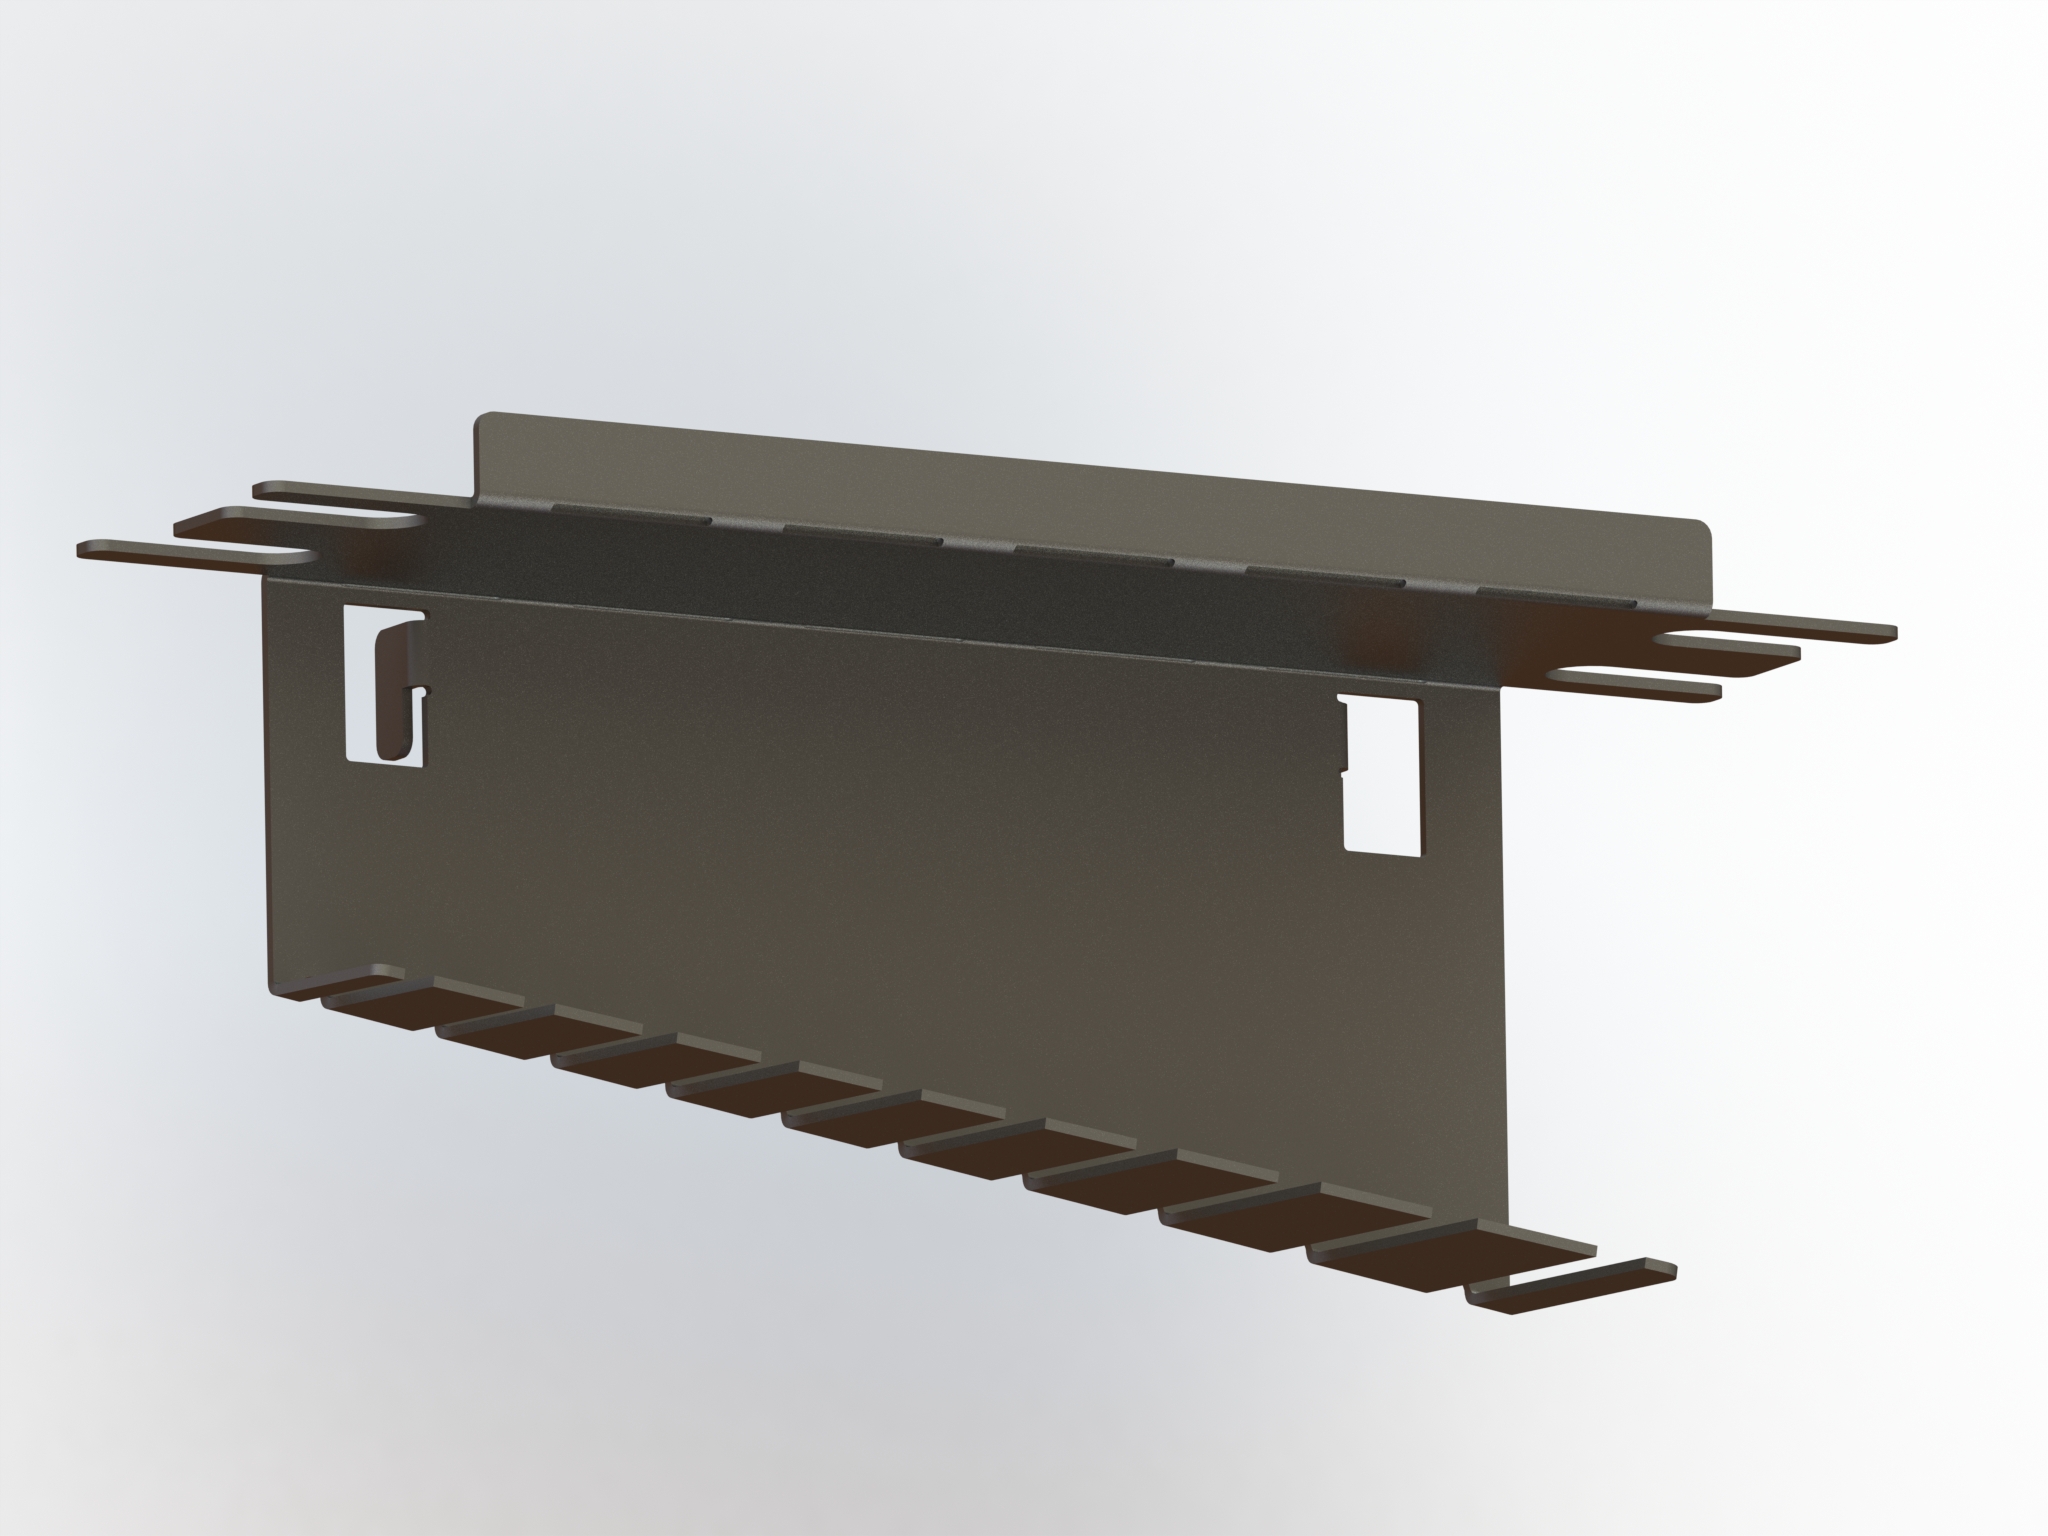
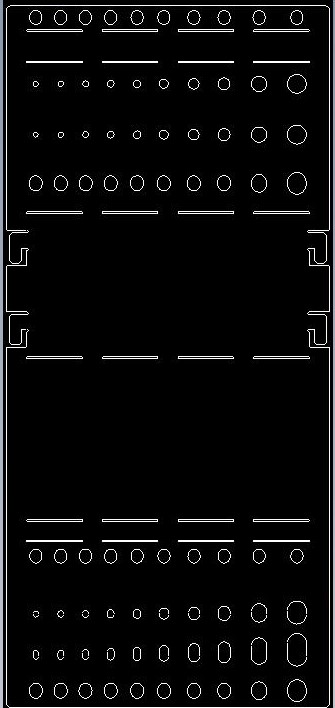
Allen/T-wrench Rack
This was the first rack I started making and one of the last to be finished. If I remember correctly, it went through something like 8 iterations, adding features, adjusting tolerances, and fixing mistakes. The rack holds a set of tall impact hex bits vertically in the very back, some T-handle hex keys at an angle in the next row, and some standard Allen keys in front of those. The tray in the front is meant to hold smaller hex driver bits.
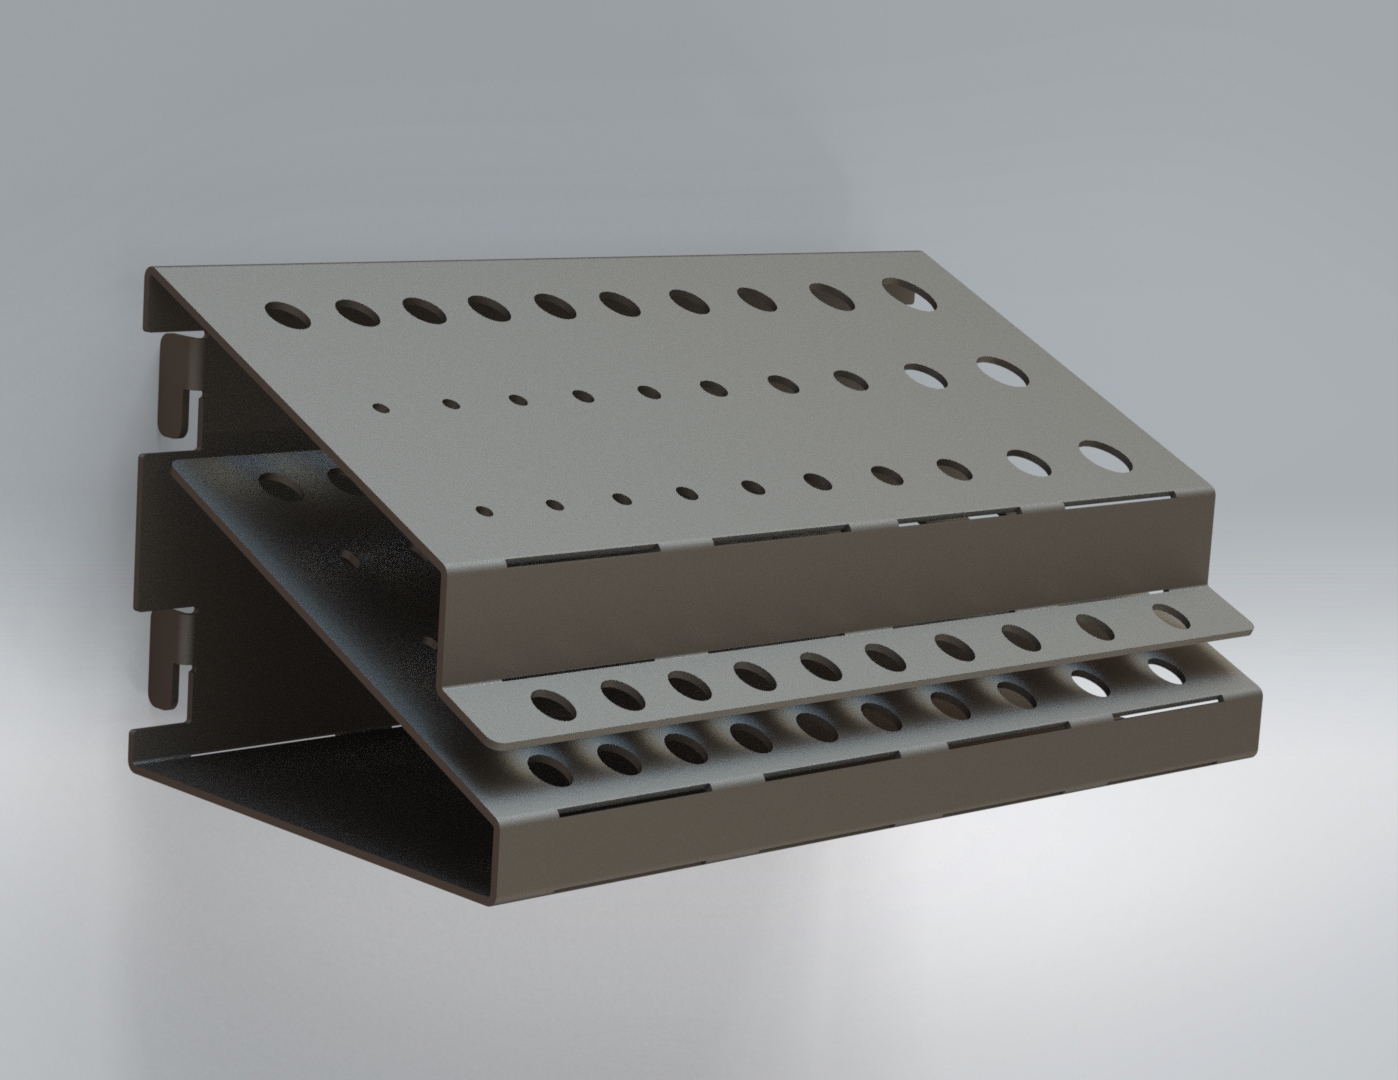
An interesting feature of this CAD model is the use of reference planes to locate the holes. I added one reference plane for each set of tools, and by changing the position and angle of this reference plane, I could quickly and easily edit the orientation in which the tools sat. What's more, most of those holes had to be elongated to account for the tool sliding through them at an angle.
Folding this rack definitely required some forethought, as it's easy to fold yourself into a corner! With 8 iterations however, I got plenty of practice getting it in the right order!
Bonus - Power Steering Bottle Mount
This one's not a tool rack either, and it wasn't even for Studio Cortez. My supervisor was kind enough to let me use the shop for this personal project, and I took advantage of it! My power steering bottle had previously been strapped to a right-angle bracket that was bolted to the OEM mount in the engine bay, which I wasn't exactly happy with.
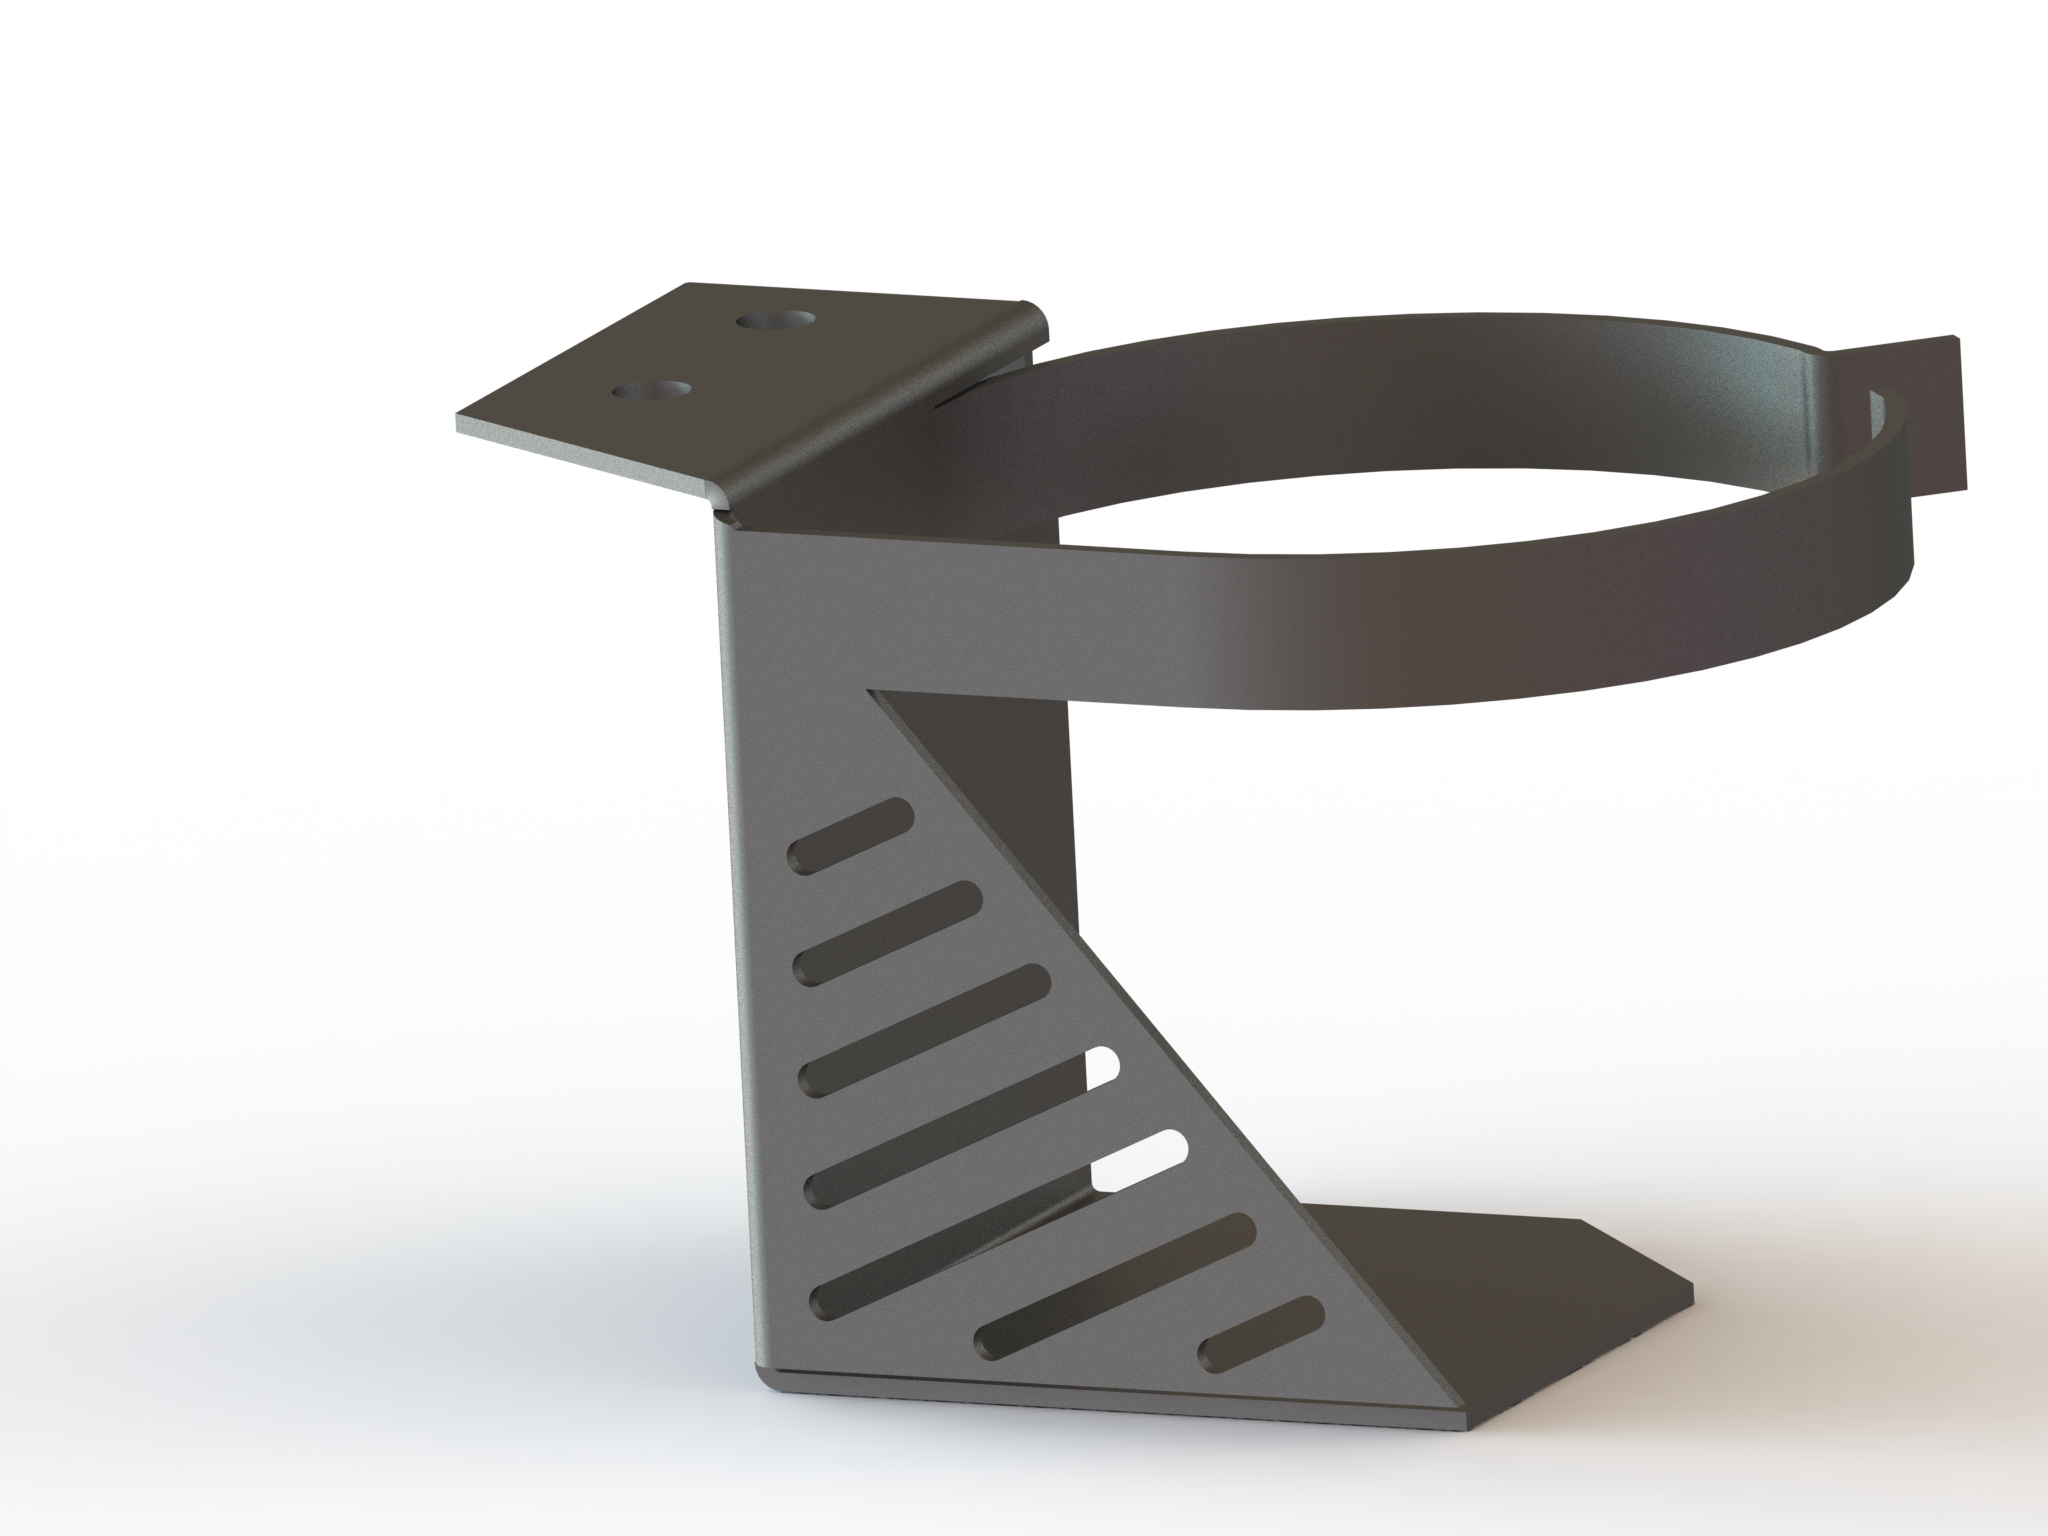
I wanted it to be ridged enough, despite using sheet steel, so I added a fold-over gussets to the back corner, which seemed to help. I also downloaded Toyota's classic font to etch the manufacturer's name in the retaining strap. The hardest part of this model was the retaining straps. Making them smoothly curve around wasn't too bad, but getting the ends to fold at a right angle with holes that aligned proved to be more challenging than I expected.
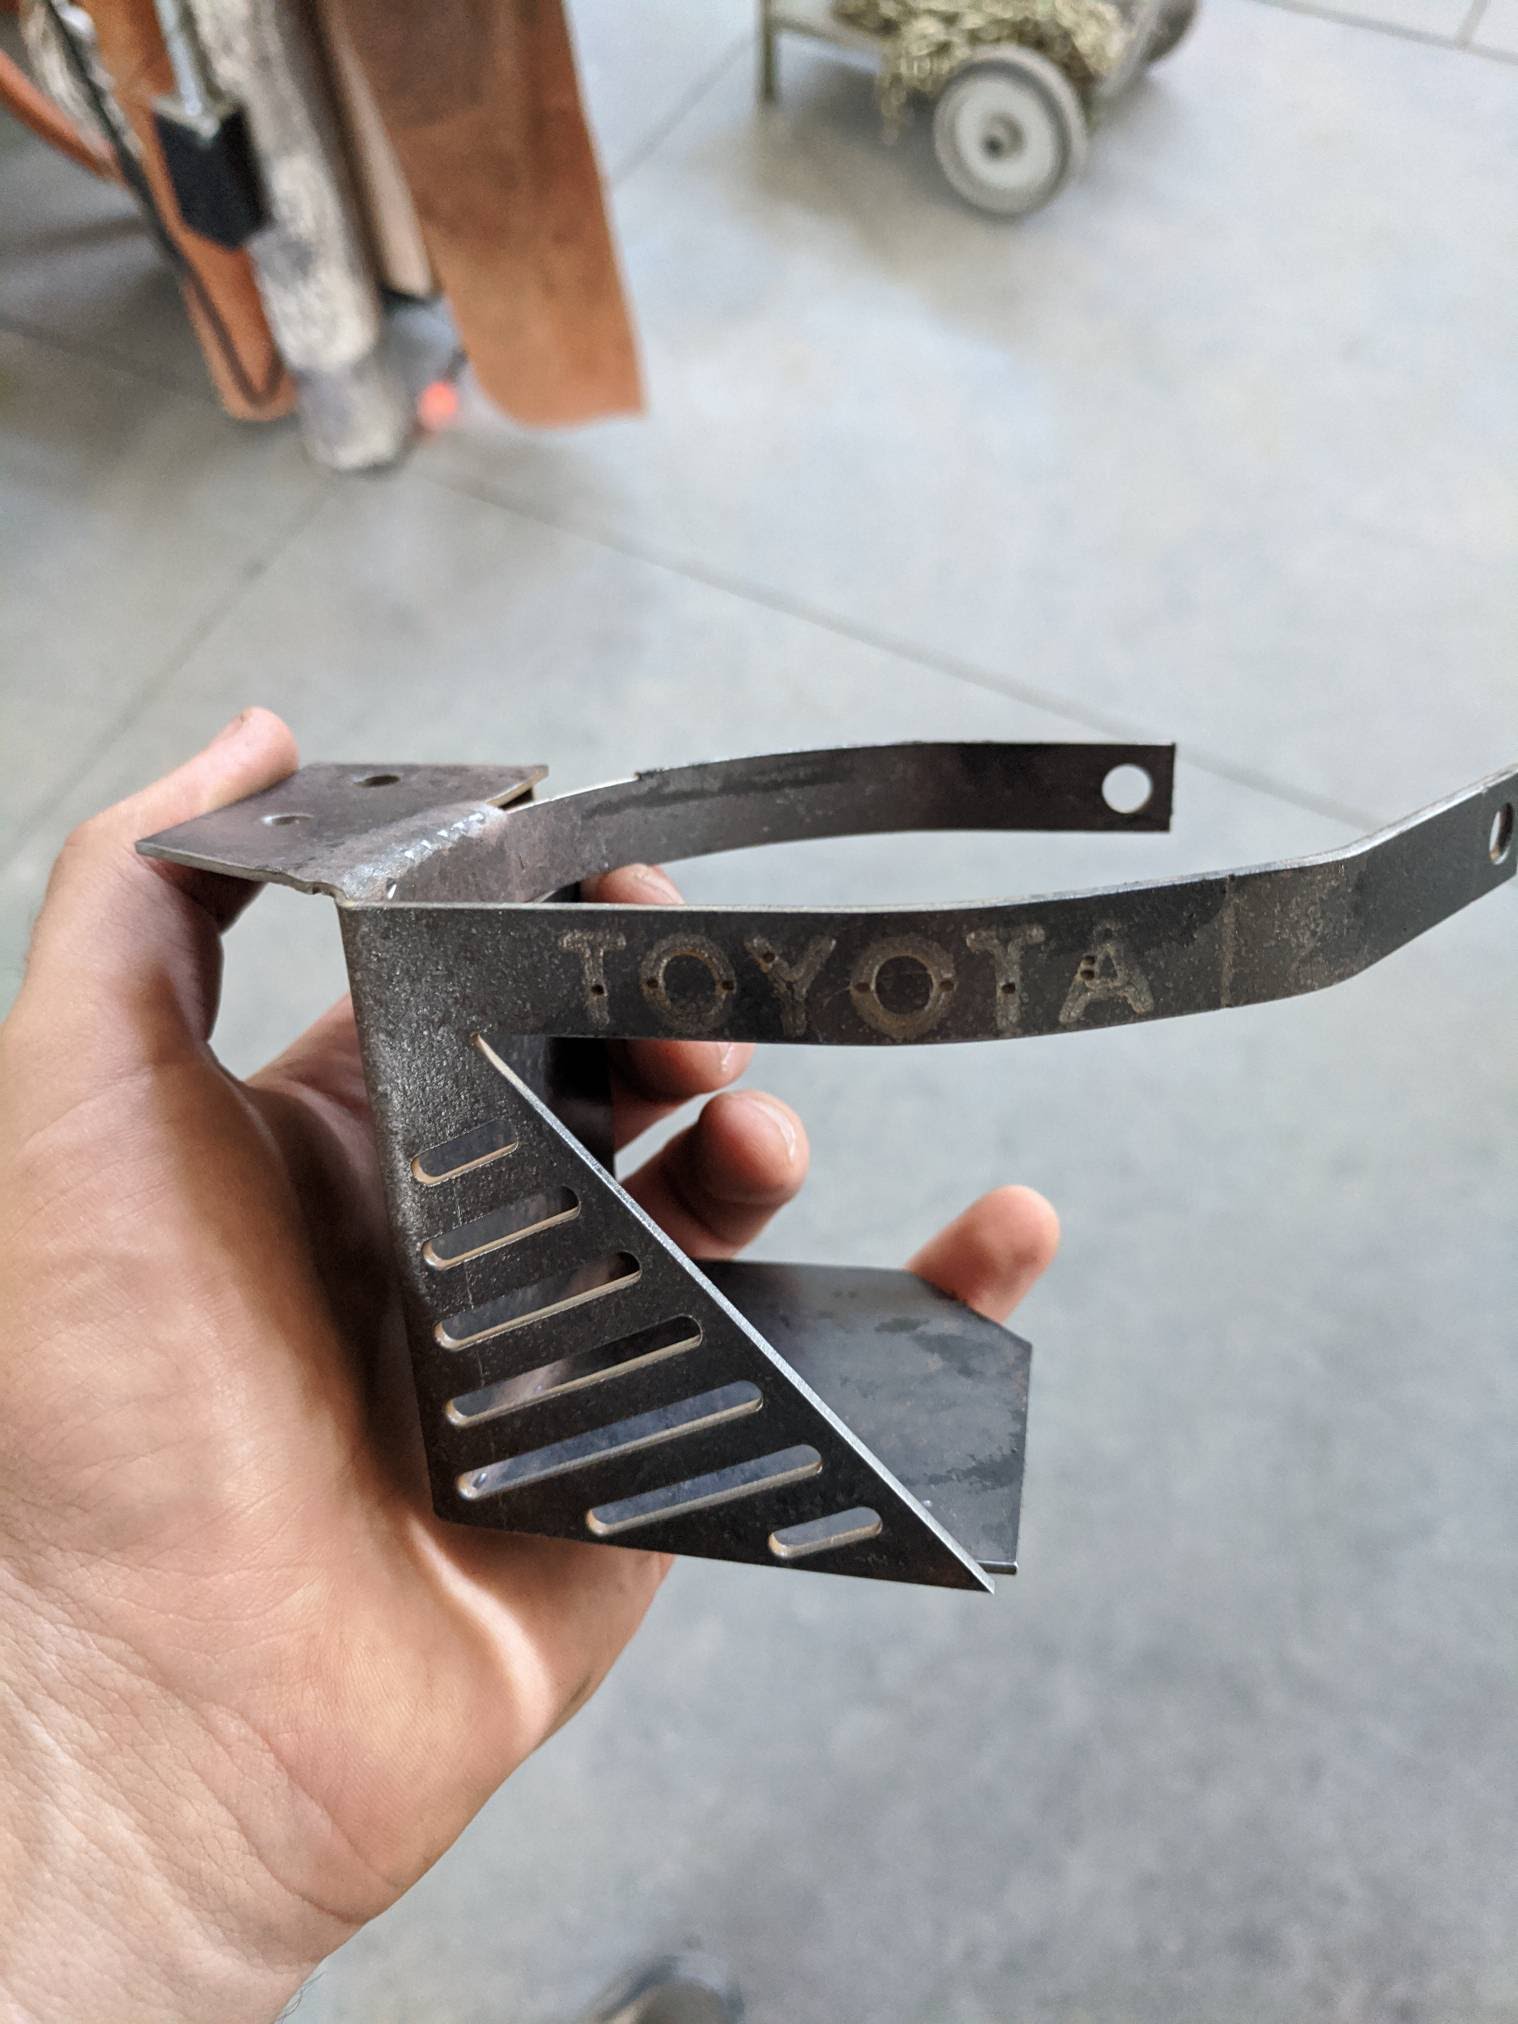
Folding this part into shape wasn't hard, and I TIG welded the fold-over gusset as well as the front bottom edge to tie the whole part together. The weld turned out remarkably well considering how little experience I had at the time!
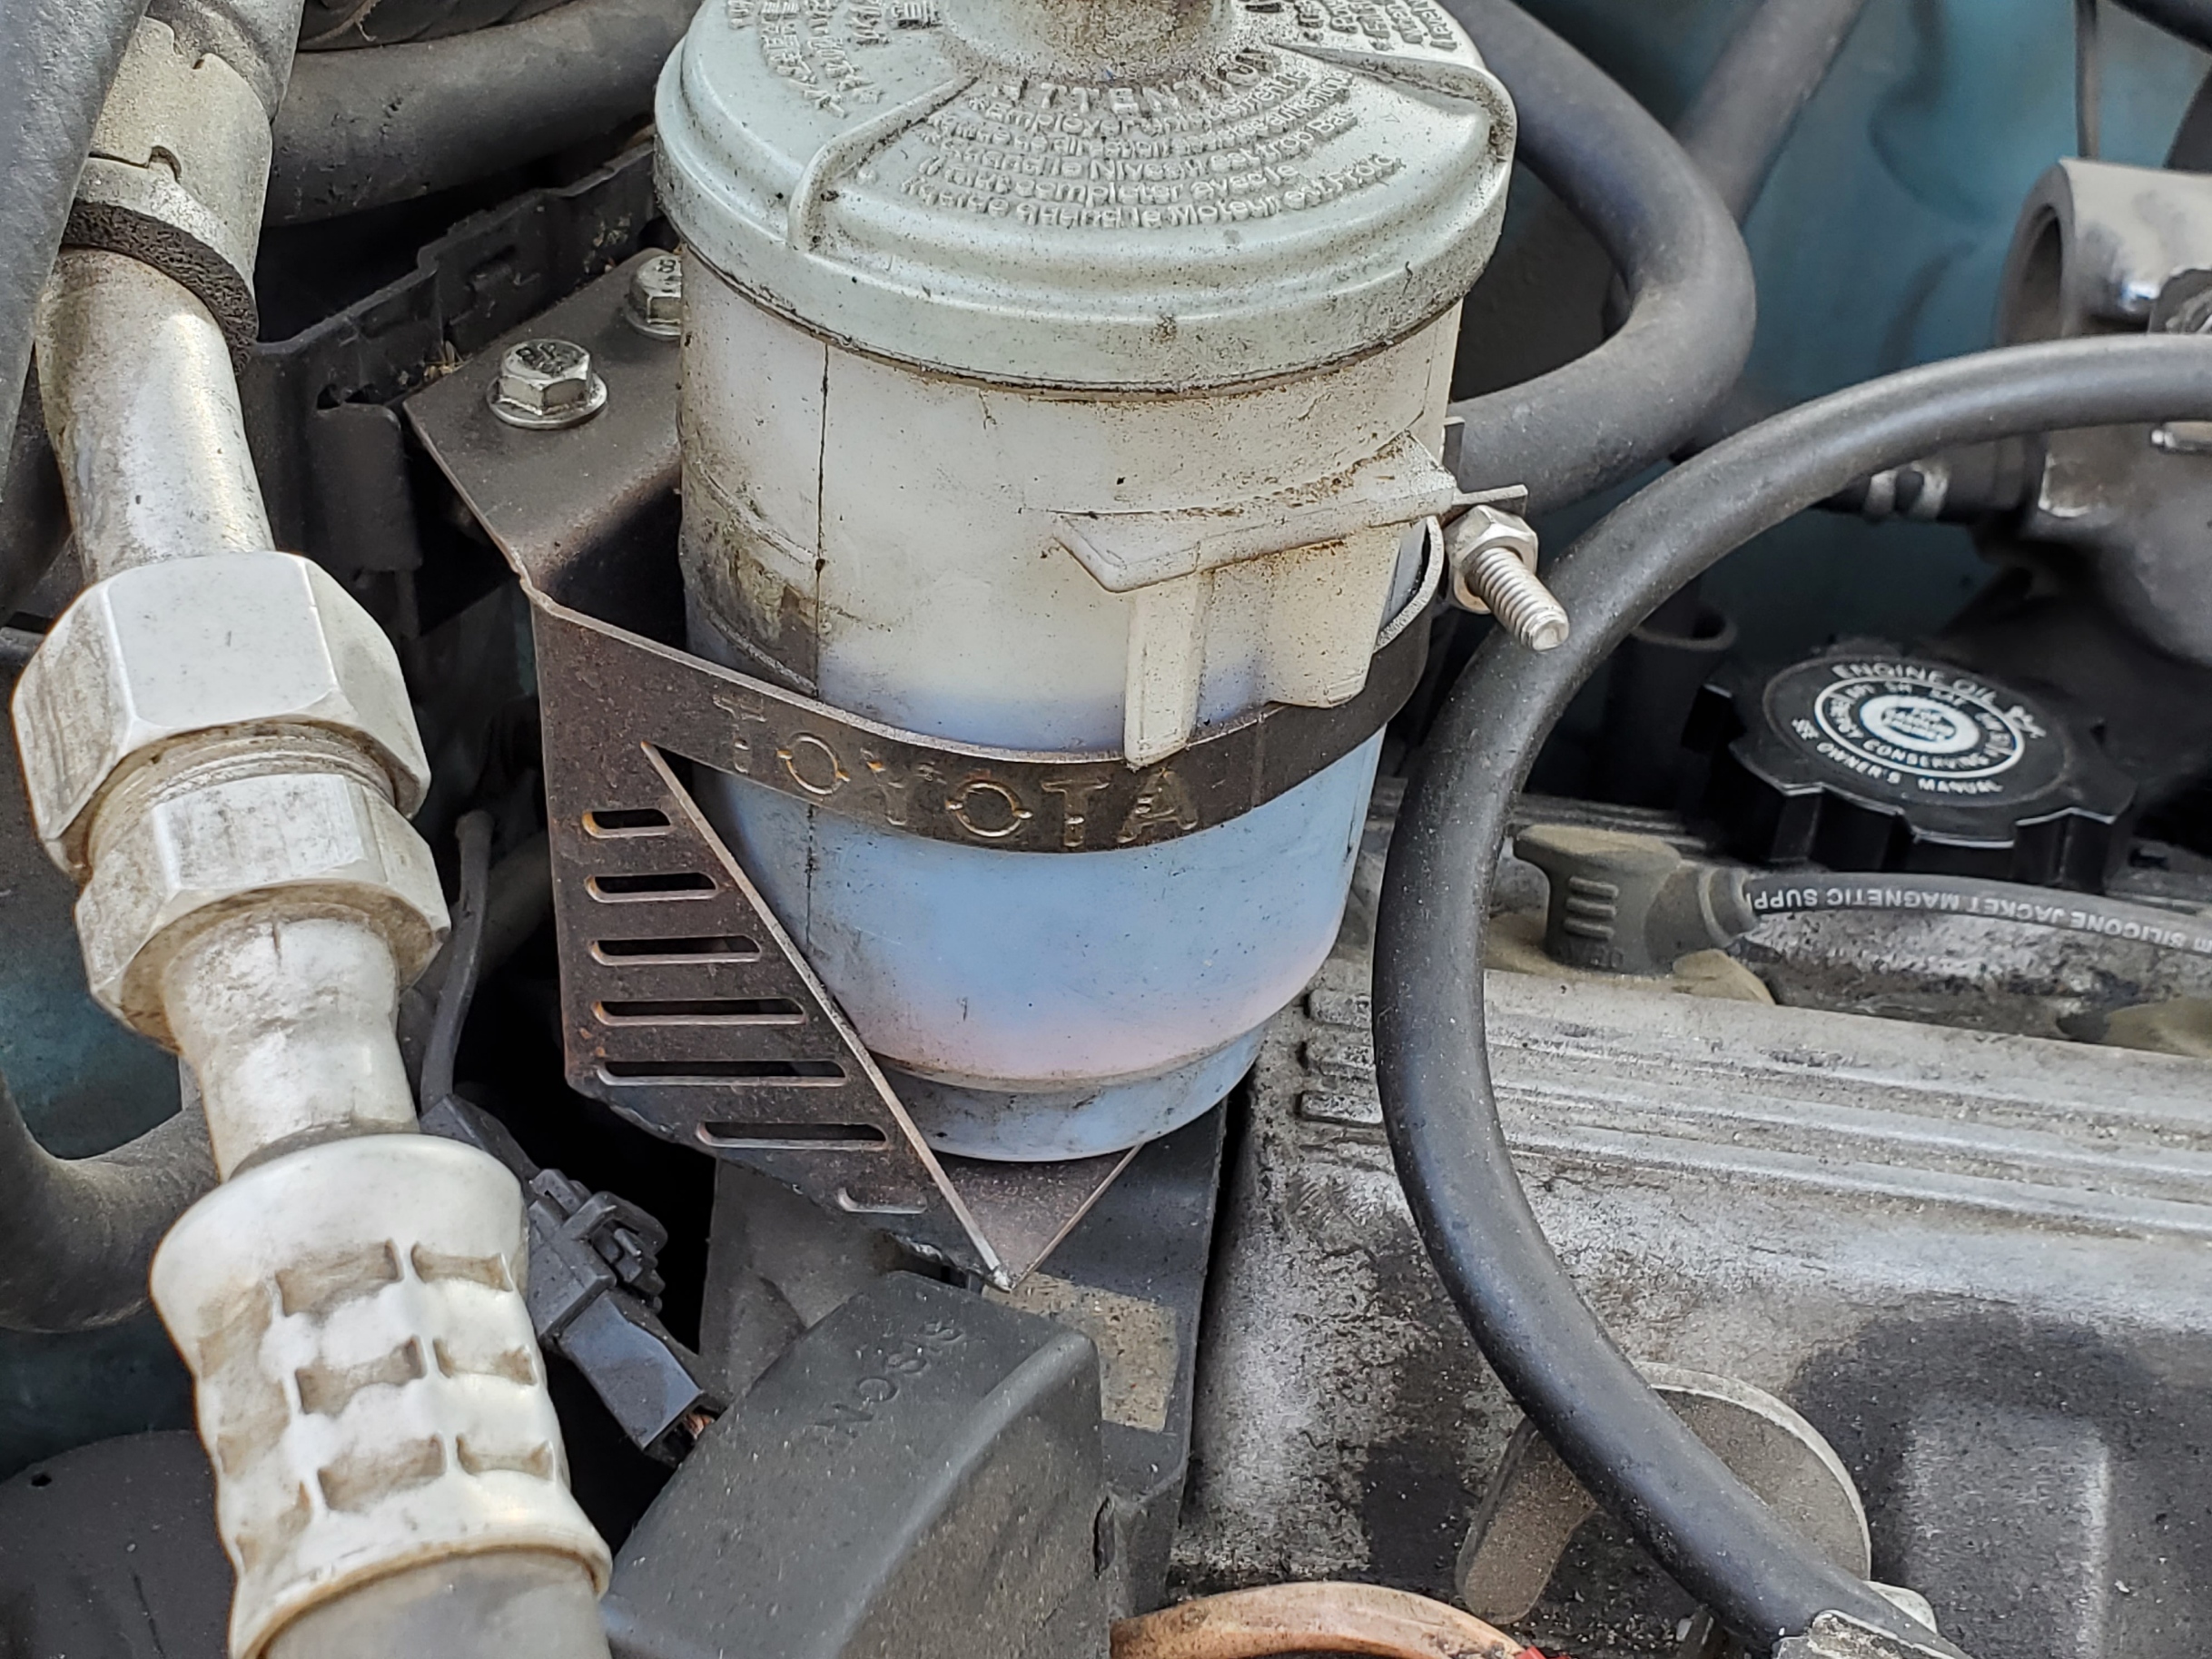
Most importantly, it fit! It has securely held my power steering bottle ever since!
Contributers

Studio Cortez